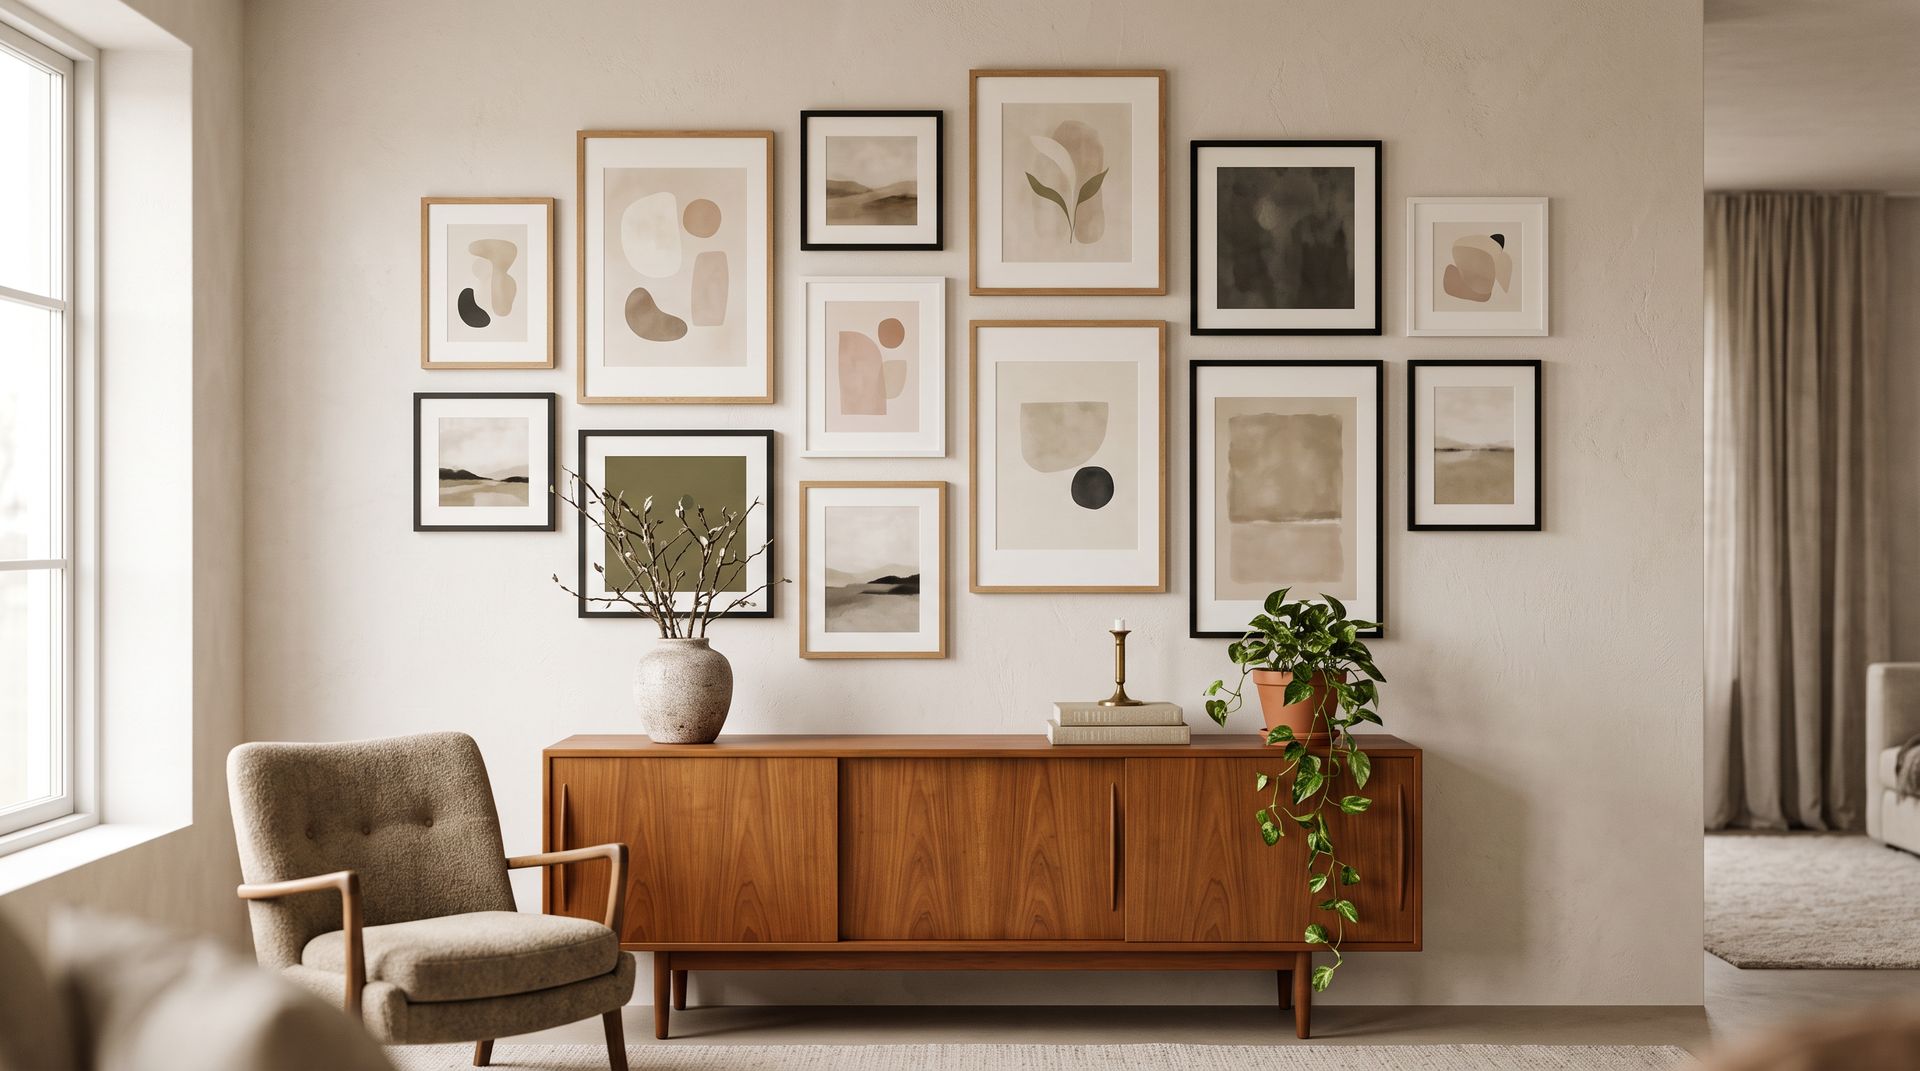
A gallery wall looks effortless when it's done right, and like a mistake when it isn't. The difference is almost never the art. It's the spacing, the alignment, and the anchor. Here's the method we use.
1. Pick an anchor piece
Start with one print that's larger or bolder than the rest, your focal point. Everything else arranges around it. Hang the anchor slightly left or right of centre, at eye level (about 145cm to the middle of the frame).

2. Keep a consistent gap
The single biggest tell of an amateur gallery wall is uneven spacing. Pick a gap, 5cm between frames is a safe default, and keep it identical everywhere, horizontally and vertically.
Cut a 5cm strip of cardboard and use it as a spacer as you hang. Faster and more accurate than a tape measure.
3. Lay it out on the floor first
Never commit to nail holes blind. Arrange the whole set on the floor, shuffle until it feels balanced, then photograph it from above, that's your map.
4. Mix, but rhyme
Variety keeps it interesting; a shared thread keeps it calm. Mix sizes and orientations freely, but let one thing rhyme across every piece, the frame colour, or a common palette. Our collections are grouped exactly this way if you'd rather not curate from scratch.
Ready to start? Browse the designs and pick your anchor.